
Where the anchors go.
The hardware is simple to mount. Where it is mounted decides how well the site works, and that is settled on the floor plan before anyone climbs a ladder.
- Planned on the floor plan
- Every area heard by several anchors
- Marked exactly where mounted
- Surveyed afterwards
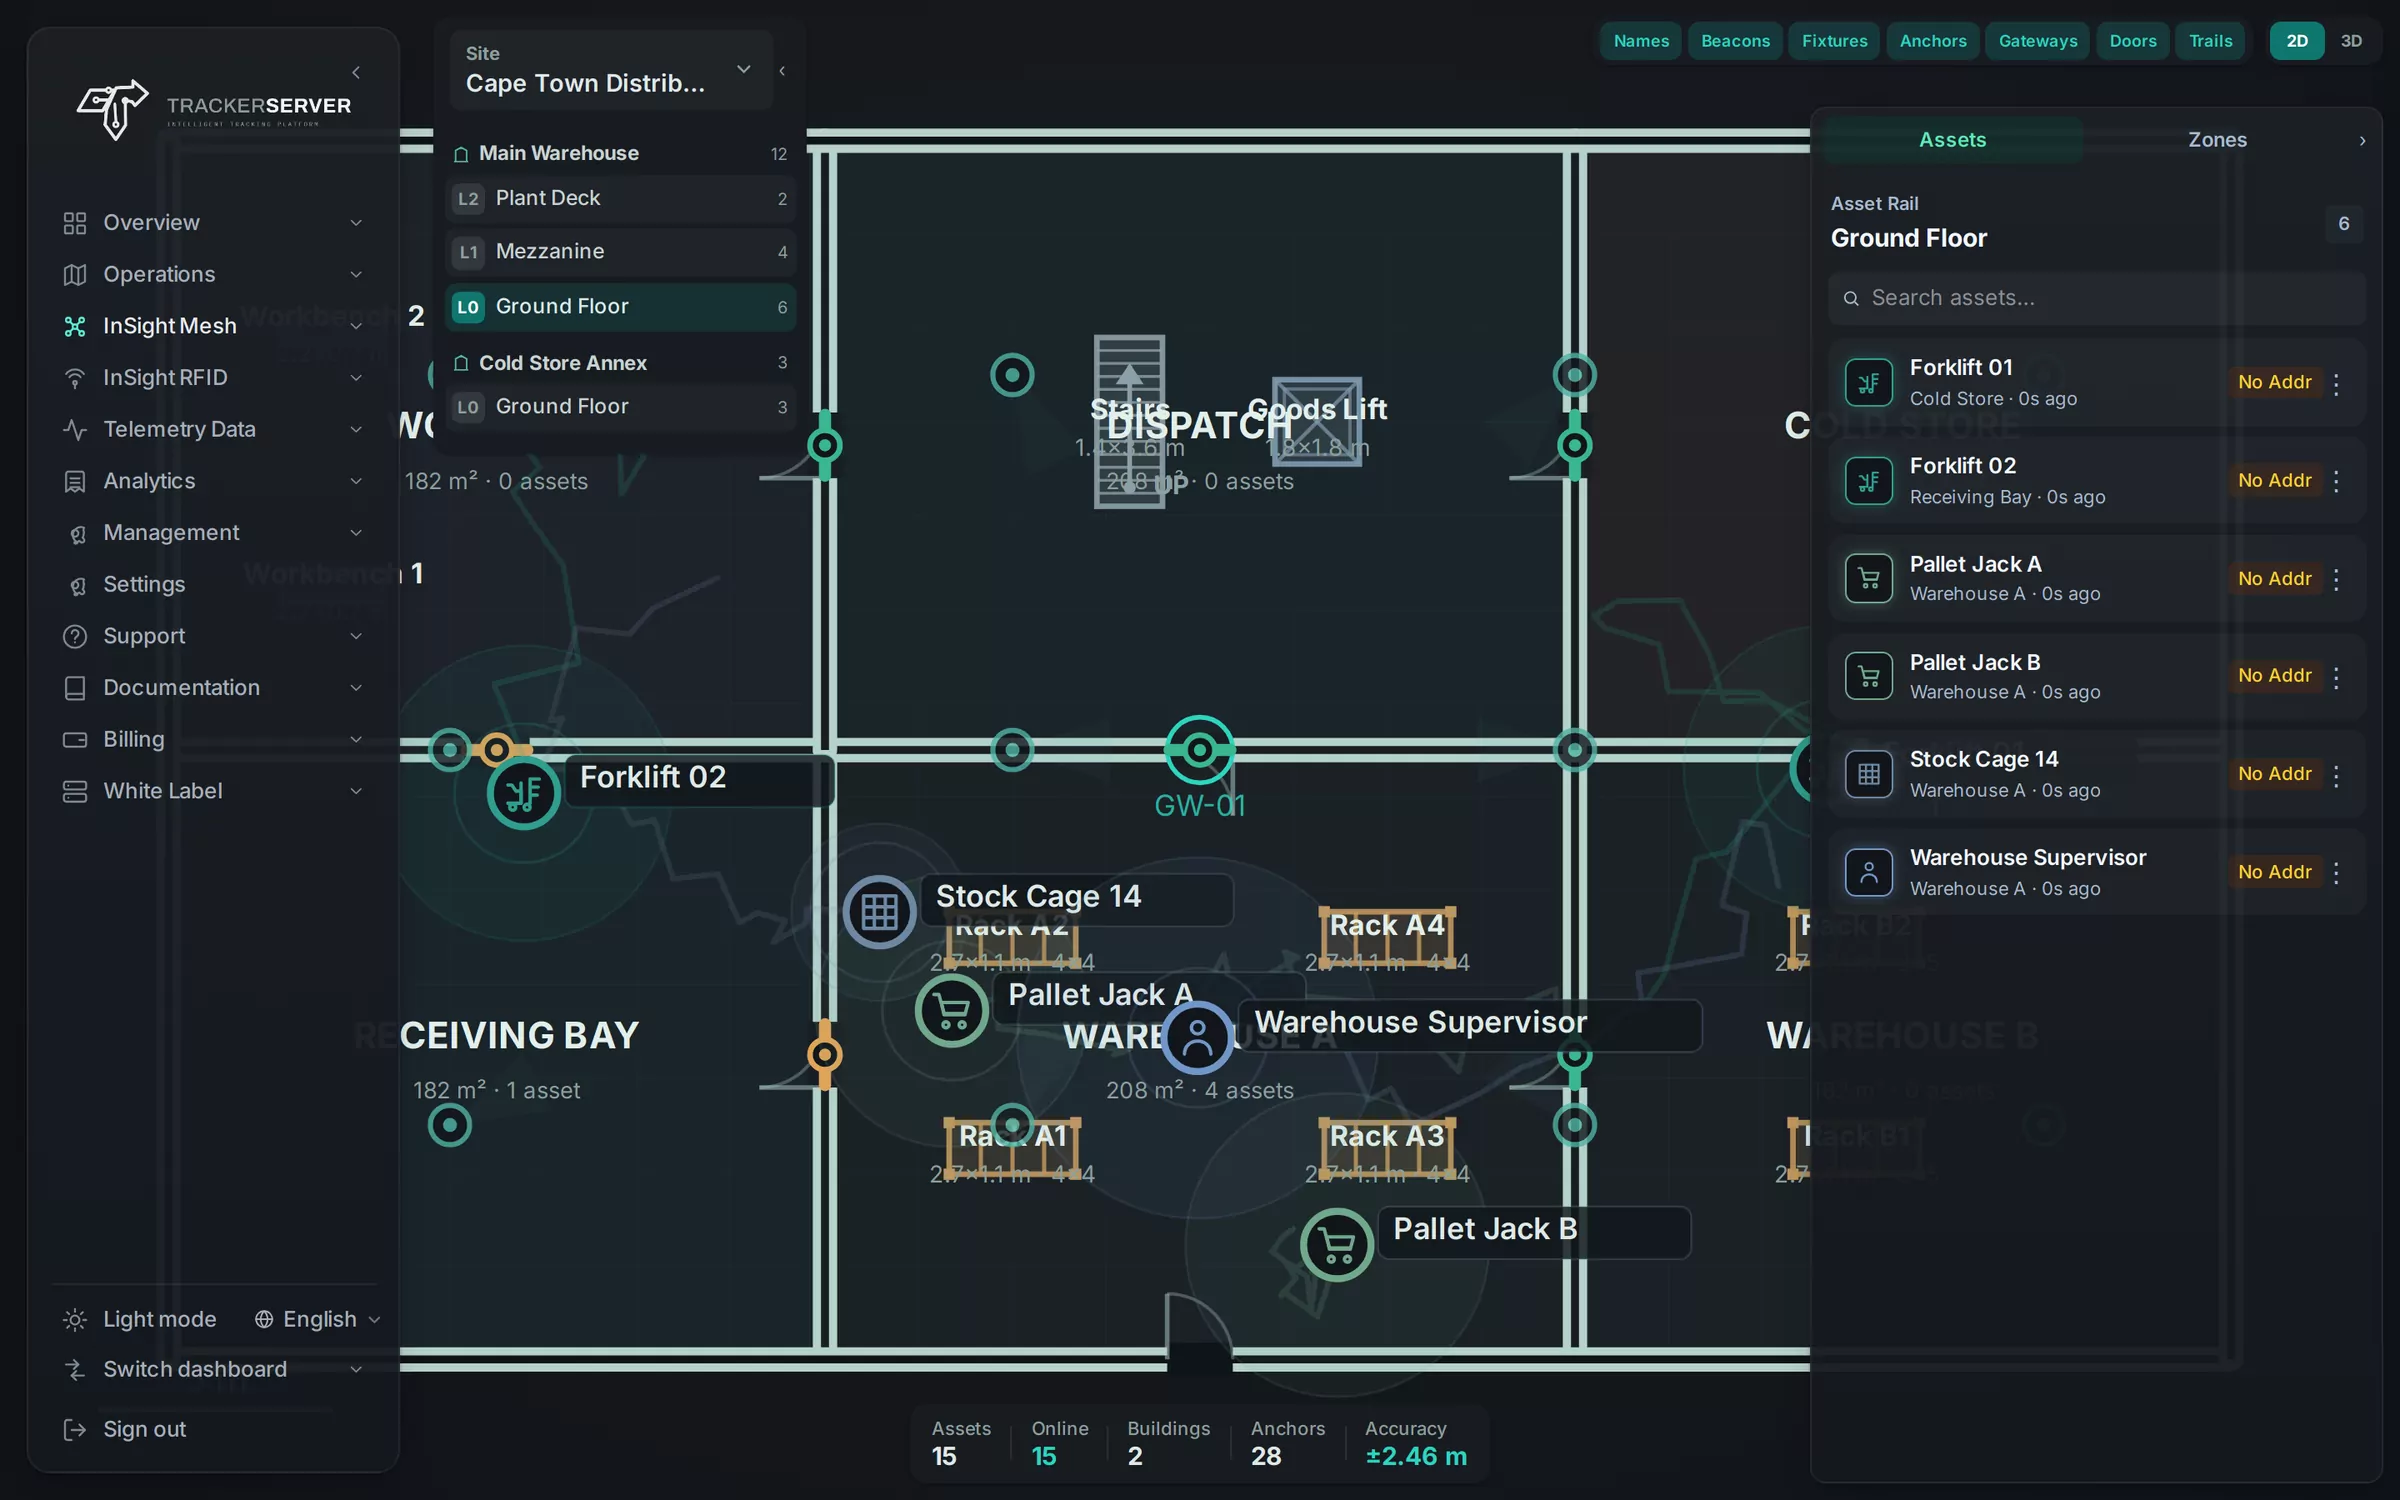
From plan to working floor.
- Step 1
Draw the floor
Upload a picture of each floor plan to the platform and trace the walls over it.
- Step 2
Place the anchors on paper
Spread them so that any spot is within hearing of several, round the edges of an area as well as inside it.
- Step 3
Mount and mark
Fix each anchor, then mark on the plan exactly where it went. The platform reasons from those marks.
- Step 4
Survey
Walk the floor with the Mesh Calibration app and one beacon, recording what the anchors hear.
Three things that catch people out.
The first is anchors in a line. A row of anchors down one wall can tell how far along the wall a tag is, and little else. Anchors need to surround the area they serve.
The second is metal. Racking, plant and steel partitions block and reflect radio. An area behind a wall of racking wants an anchor of its own, and a floor like that should always be surveyed.
The third is a mark in the wrong place. An anchor moved two bays along after the plan was drawn, and never updated, misleads every position that depends on it. When an anchor moves, its mark moves.
How many anchors?
There is no honest number per square metre. An open hall and a racked warehouse of the same size need very different layouts. Send us the plans and say what stands on each floor, and we will work the layout out with you.
Next
Enquire about mesh hardware for a first site.
Send us the floor plans, or the size of each floor and what stands on it. We reply with the tags, anchors and gateway it takes, and the platform they report to.